10.31.2012

Monthly Menu Plan: November

I've been doing a monthly menu plan for the last several months and I love it. It saves us money, time, and energy because I already know what we're making for the night. I don't know about you, but when I wasn't menu planning, around 4:00 in the afternoon I would think, shoot, what are we having for dinner tonight? By menu planning, I don't have to worry about it.

Here's how I do it. I bought a white board calendar from walmart (like this one) and put magnets on the back so it sticks to our fridge. Every month, I write in what we're having to eat and leave some days open for left overs (L.O. on the calendar). There's a spot at the bottom for notes where I write what ingredients I need to buy from the store.

I know a lot of people plan weekly so they can look at ads and match their meals to the ads, but I find this to be more time consuming than what I want to spend on it. Monthly plans work well for my family. Do what works for yours!

Here's a picture of my November menu (Tuesdays are blank because we are involved in a program that serves us dinner.)

My menu includes:
Tacos
Crockpot BBQ Chicken and Halved Potatoes
Meatloaf
Pork Chops and Rice
Cornflake Chicken
Beef Stew and Cornbread
Enchiladas
Chicken Tetrazini
Calzones
Potato Soup
Buffalo Chicken Wraps
Chicken Fried Rice
*French Dip Crescent Rolls
Chili
Sloppy Joes
*Garlic Parmesan Chicken
Chicken Spaghetti

I always try to do 1-2 new recipes every month. The ones for this month have a * next to them. If you would like recipes for the ones that don't have a link, let me know and I will be glad to post them!
Photobucket
Pin It!

10.26.2012

Blog Feature Friday: Shaggy Sheep Home

This week's blog feature is Solange from Shaggy Sheep Home. She has a great little tutorial on how to frugally make your own jewelry out of pieces you can find at thrift shops and using coupons. Check it out!

Big Jewelry Small Price

I am not talented at jewelry making and I do not like paying a lot of money for jewelry. When I found this doll face at Michael's I felt like I had to have it. The price was 10.00 but I used a 40% coupon and paid $6.00.


Then I found this bracelet at Michael's for 10.00 and used a coupon for 40% off and paid 6.00 for it as well.

The Brand is called Art-I-Cake and they have some amazing things.


Now I bought this necklace at a garage sale for $2.00 and I have seen similar ones at the thrift store for $1.00.

I weaved a black ribbon through the chain to make it stand out.

Then I attached the bracelet to the necklace and the doll face to the necklace.

I love how it looks and it only cost me $14.00


Photobucket
Pin It!

10.25.2012

Sandpaper Crayon T-shirts


Sandpaper Crayon T-shirts Tutorial
I have a little tutorial for you today. I’m involved in Mothers of Preschoolers (Mops) at my church and am the Creative Activities Coordinator (I make up crafts for us to do). It’s so much fun and I’ve found tons of fun things for us to do! The last craft we made I posted about here. It's a post-it note clipboard. Great for teacher gifts! 

This week, we made Sandpaper Crayon T-shirts. We drew them on onesies to give to our local Women’s Resource Center. It’s a super easy project, and really fun! If you have older kids, it would definitely be something they can do.

Anyways, here’s the tutorial.
Step 1: Gather your supplies (onesie or other piece of clothing, sandpaper, crayons, iron,  paper towel, and a piece of scrap cardboard)


Step 2: Color a picture onto your sandpaper. (This will be reversed, so remember to draw things backwards from the way you want it to look!)


Step 3: Place your cardboard INSIDE your onesie. (This will prevent the crayon from bleeding through.)


Step 4: Place sandpaper with the drawing side down and put paper towel over top of the sand paper to keep your iron from getting damaged.


Step 5:  Iron on paper towel for about 30 seconds, making sure to cover all of the drawing.


Step 6: Remove the paper towel and the sand paper. You should have a drawing on your onesie now!


Step 7: Place your paper towel directly onto the onesie and iron to remove the extra wax.


Step 8: Remove the cardboard from inside and enjoy your new product!


Photobucket
Pin It!

10.18.2012

Color Wheel Basics, Schemes, and Dimensions

Knowing the basics of colors can really help you when you're trying to figure out colors for your house. For example, if you are doing a living room makeover and you are trying to tie your furniture, walls, window treatments, pillows, rugs, accessories, etc. together, it's very helpful to understand which colors work well together.

I'm going to show you a basic color wheel and how it works, as well as explain color schemes and color dimensions.

The basic color wheel consists of these 12 colors: yellow, yellow-orange, orange, red-orange, red, red-violet, violet, blue-violet, blue, blue-green, green, yellow-green.


It is split into these 3 main groups:

Primary colors: Yellow, red, blue. No other colors can be mixed to make these colors.


Secondary colors: Green, orange, violet. Mixing the primary colors will get you these 3 colors.


Tertiary colors: Yellow-orange, red-orange, red-violet, blue-violet, blue-green, yellow-green. Mixing the primary and secondary colors next to it will get these 6 colors.


So now you might be wondering why these are significant. The way you put these colors together can be classified as color schemes. There are a variety of ways to do this.

Monochromatic: 1 color in a variety of shades.


Analogous: 2 to 6 colors that are next to each other on the wheel.


Complimentary: colors that are opposite each other on the wheel.  


Triad: Any 3 colors that make a triangle on the wheel.


Also, there are different dimensions to a color. A hue is a pure color that you can find on the color wheel. If you add white to that pure color, you will get a tint of it. If you add black, a shade. And if you add gray, you will get a tone.

Another dimension of color is the saturation of it. Saturation is how pure the hue is. Colors on the wheel are 100% pure, or fully saturated. The less saturated they are, the duller they look.

Using this knowledge, it is a lot easier to see why certain colors go well together. In our example of a living room, we could use an analogous color scheme with a variety of color dimensions to get a perfect look. See the different tints, shades, and tones of blues and greens? Also notice that blues, greens, and even yellows are next to each other on the color wheel.
Source
Source
Photobucket
Pin It!

10.16.2012

Fall Paint Colors

I love getting inspiration for paint colors from nature. Living in the Midwest, my favorite time of year is autumn. The trees are gorgeous, the weather is crisp, the sky is bright blue, it's just beautiful! Some of my favorite colors are the colors of fall. Deep reds, browns, oranges, yellows, etc. I am sharing some paint colors that I love that are fall-ish. These are all Pratt and Lambert paints that you can actually buy. (I'm not getting paid by them to use their colors.)


Photobucket
Pin It!

10.12.2012

Blog Feature Friday: Little Mountain Momma

I'm so excited to introduce you to my guest today for Blog Feature Friday! Brittany, from Little Mountain Momma, is one of my very good friends. Our husbands went to school together and have been best friends since they were about 5 years old. Anyway, I will let her show you her great tutorial on how to make this adorable peacock tutu.


Wow- has it really been an entire year since I joined Pinterest?  As I sit here compiling pictures for this guest post, I realize it really has been a full year, since my idea to turn my daughter into a peacock for Halloween originated from a pin I found last year.  Pinterest has this uncanny ability to steal all sense of time and reality from our lives, doesn’t it? 
The idea came from fellow blogger Creatively Christy, and I have to give her props because her costume came out absolutely adorable.  So adorable that I knew I had to redesign the costume with some twists of my own.


While I unfortunately don’t have all of the step by step pictures of how I made the costume last year, I’ll do my best to explain the steps I took along the way.
The items you’ll need for this project are:
·       1 yard of metallic sequined fabric in your color of choice
·       Half a yard of sequined elstic ribbon
·       One large piece of card board (one part cut in a 10x10 square) the remaining to be used for the peacock feathers
·       Hot glue gun
·       Pillow stuffing or batting
·       2-3 packages of small decorative feathers (I couldn’t find the teal feathers that Christy used so I chose to go bold and bright with lots of different colors)
·       6-8 long stemmed large decorative feathers
·       6-8  long stemmed peacock feathers (I found mine at Hobby Lobby)
·       1-2 shorter smaller peacock feathers (for the head band)
·       Flashy tights or leggings to go under the costume and keep your kiddo’s legs warm
·       A long sleeved 
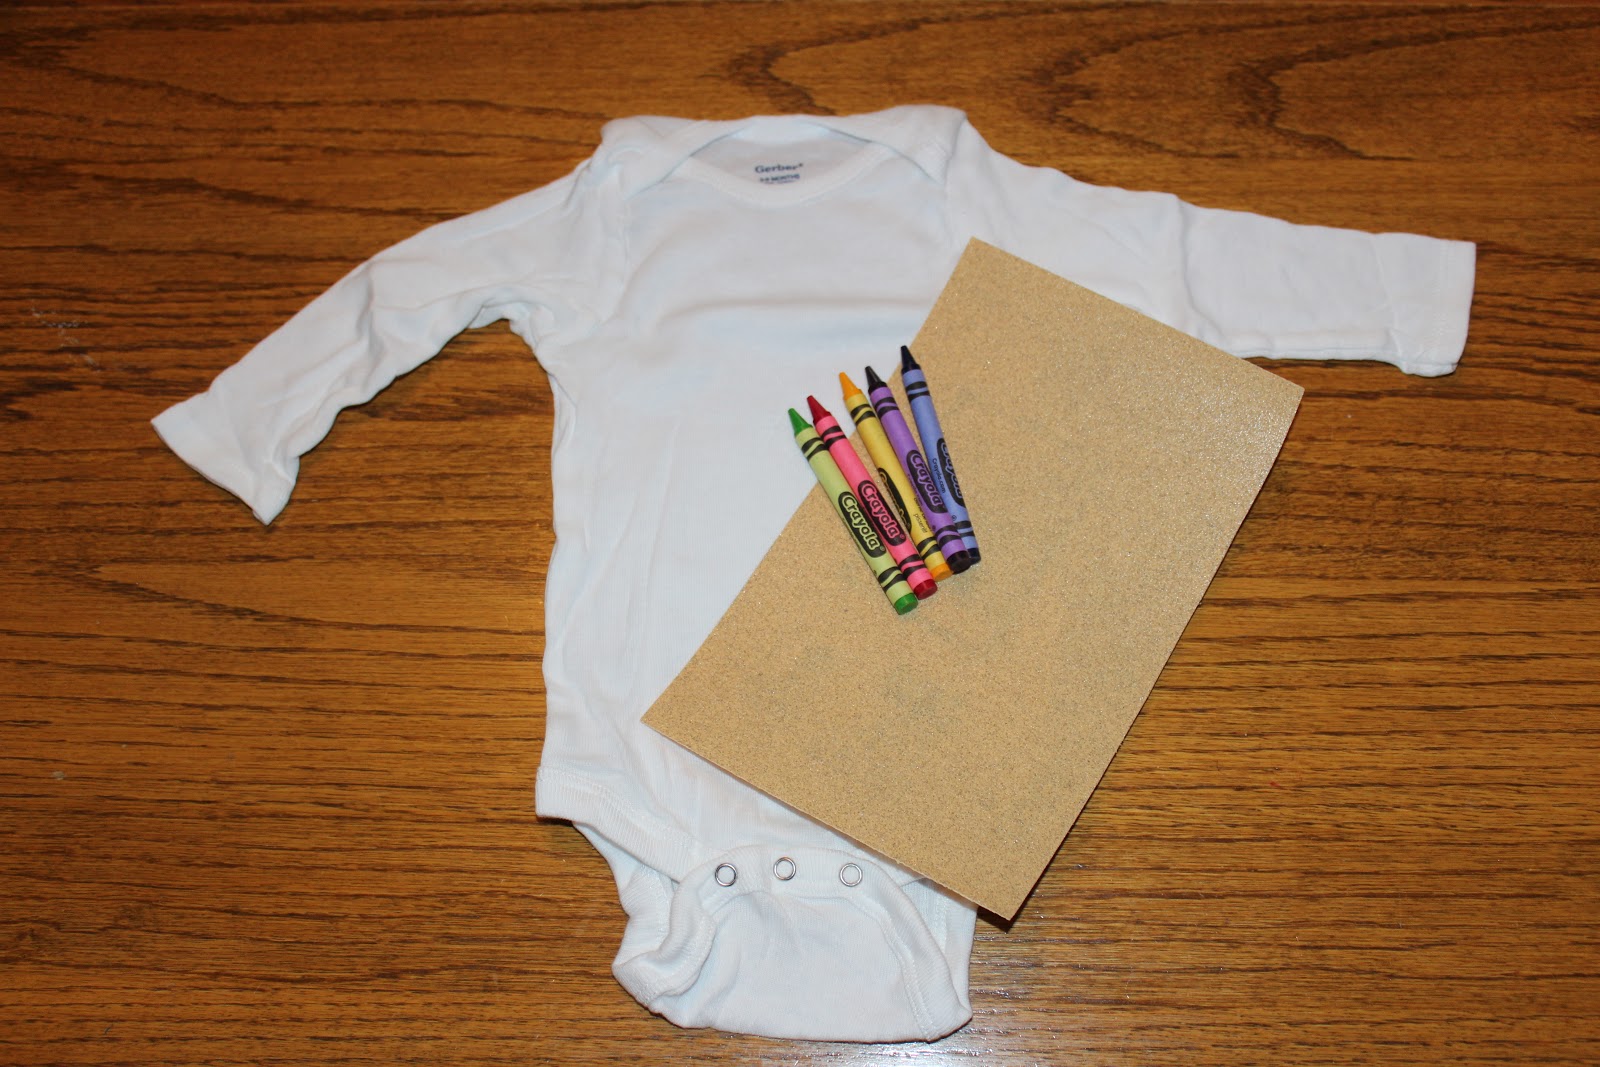
t-shirt/onesie and  maybe a comfy jumper to keep her warm
I began my costume planning by choosing what Mackenzie would wear underneath her peacock gettup. While Creatively Christy used a onesie and some tights for her daughter, my own daughter was a year or two older and long past the onesie age.  I used a long sleeve GAP turtle neck and a GAP fleece jumper.
 For her legs I bought X-Large knee highs from the girl’s section in Target.  These actually worked perfect because they were large enough in the feet for me to slip right over Mack’s tennis shoes.  Sure, there were holes worn through by the end of Trick or Treating, but they worked their purpose for the evening. They went straight into the garbage when we got home….along with all of the non chocolate halloween candy ;)

(Pictured above is the yard of sequined fabric, the cardboard and the elastic ribbon)
I began the actual costume by creating the body.  I covered the cardboard with the sequined fabric and then used the hot gun for each of the sides, making sure to leave one of the sides open…

I knew that I wanted to use the pillow batting to stuff inside and make the body of the costume fuller.

After the batting was added, I used the hot glue gun to close up that fourth side completely.
When the fourth side was close up, I measure Mackenzie’s waist and hot glue the sequined elastic  ribbon to the back sides of the body of the bird.  I made sure it was tight enough that it wouldn’t be sliding down her belly while out for candy.

Next, I cut five individual peacock feathers from the remainder of my cardboard and I began to cover them with the remainder of the seaquin fabric (again leaving one side completely open

Once I finished covering my cardboard, I again stuffed the pillow batting inside to give the feather some extra body.  I then glued the bottom shut. Repeat this for each of the feathers and arrange them onto your covered cardboard.  You will start to see the shape of your peacock coming together.

Once I had finished attaching each of my covered cardboard feathers (I’m only showing two in the pictures I’ve posted), I began to arrange and glue on my decorative feathers.

After a LOT of hot glue and a LOT of feathers (include your peacock feathers somewhere in there too), this is what I ended with.

The last step was to make Mackenzie’s headband and I did this by repurposing an old stretchy pink band we had and (again) hot gluing feathers around the crown.

I love how my little peacock turned out.  And she did too.  In fact, a year later, she still wears her costume around the house when playing “dress up”.

And lastly, my favorite picture of Halloween night.  Who can resist a little peacock and her daddy? For this shot, every feather and burn of the hot glue gun was worth it ;)


Photobucket
Pin It!